Setting up a Windows XP computer in 2026 - Part 2 - The Software
BIOS SETUP
The BIOS was by far the most challenging aspect of the installation. As I described in the Part 1 article[1], the motherboard had no identifying manufacturer details other than a small paper sticker. Since this was my initial (and only) clue, there was a lot to discover (and guess) about how to update this computer's BIOS. I tend not to mess around with the BIOS unless necessary, but the main problem with this setup was that the NVIDIA GeForce GT 710 I bought was not outputting video through either the HDMI or VGA port.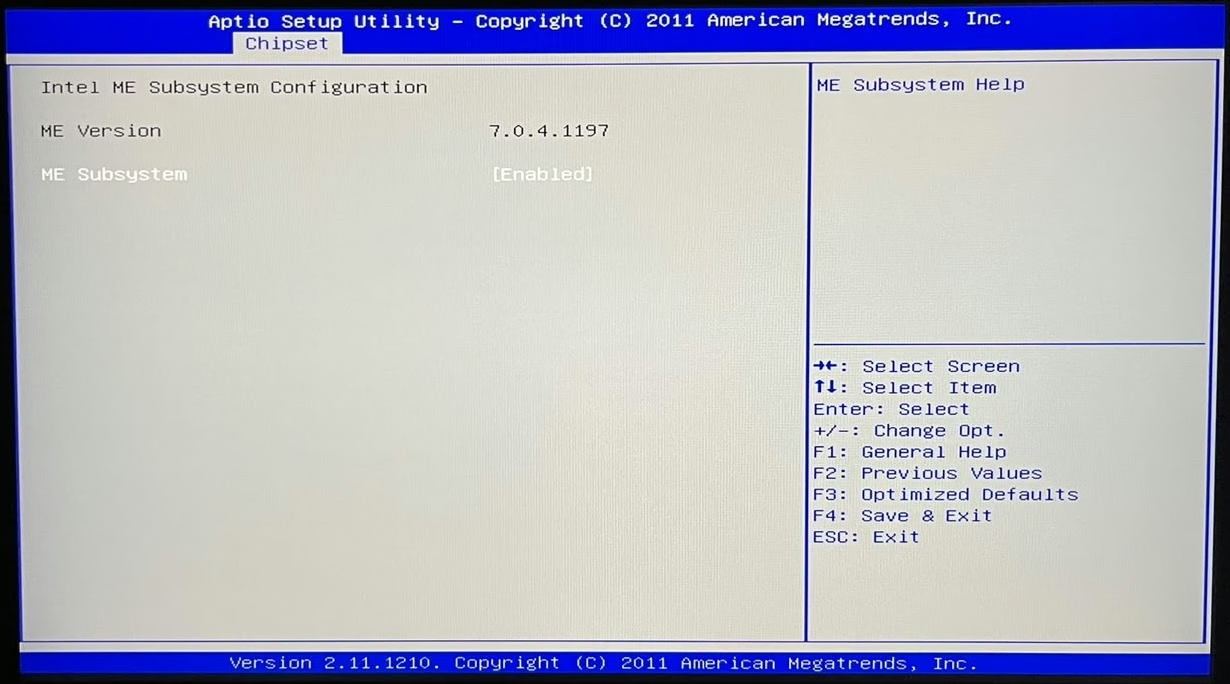
After further analysis, I found that the old firmware used a legacy BIOS that expected a 16-bit real-mode option ROM. Many GeForce 700-series and newer cards ship with a UEFI-only or hybrid VBIOS that legacy firmware fails to initialize, resulting in a black screen, a failure to complete POST, or the system falling back to integrated graphics. The old BIOS version did not have an option to switch between UEFI and Legacy/CSM (Compatibility Support Module). The latter needed to be enabled for the GT 710 to output video correctly.
The update process for the H61H2-M2 is not simple. It involves several steps, including clearing the CMOS and bridging the ME_UNLOCK pins. The process is fully described in this guide[2], which was created to help users install Windows 8. The most critical step was to identify which version of the board I had in this build, since two main versions were manufactured for SEMP TOSHIBA at the time. One way to distinguish them is to check the ROM chip on the board, as the two versions had different memory capacities. Other methods include checking the version printed on the board, if available, running a tool like CPU-Z, or checking the size of the backup/dump file when saving the existing BIOS (V1.0 generates a file under 4 MB, while V2.0 generates a file larger than 4 MB, typically around 6–8 MB). However, running CPU-Z on SEMP TOSHIBA machines DOES NOT give you this information because SEMP TOSHIBA renamed the BIOS and replaced the boot screen logo with its own. In my case, that left the output file size as the only way to identify the board version.
Setting up Windows XP
After resolving the BIOS and video card compatibility issues, I needed to make one last small adjustment in the BIOS: changing the SATA mode from AHCI to Legacy Mode so the installer could recognize the hard drive.
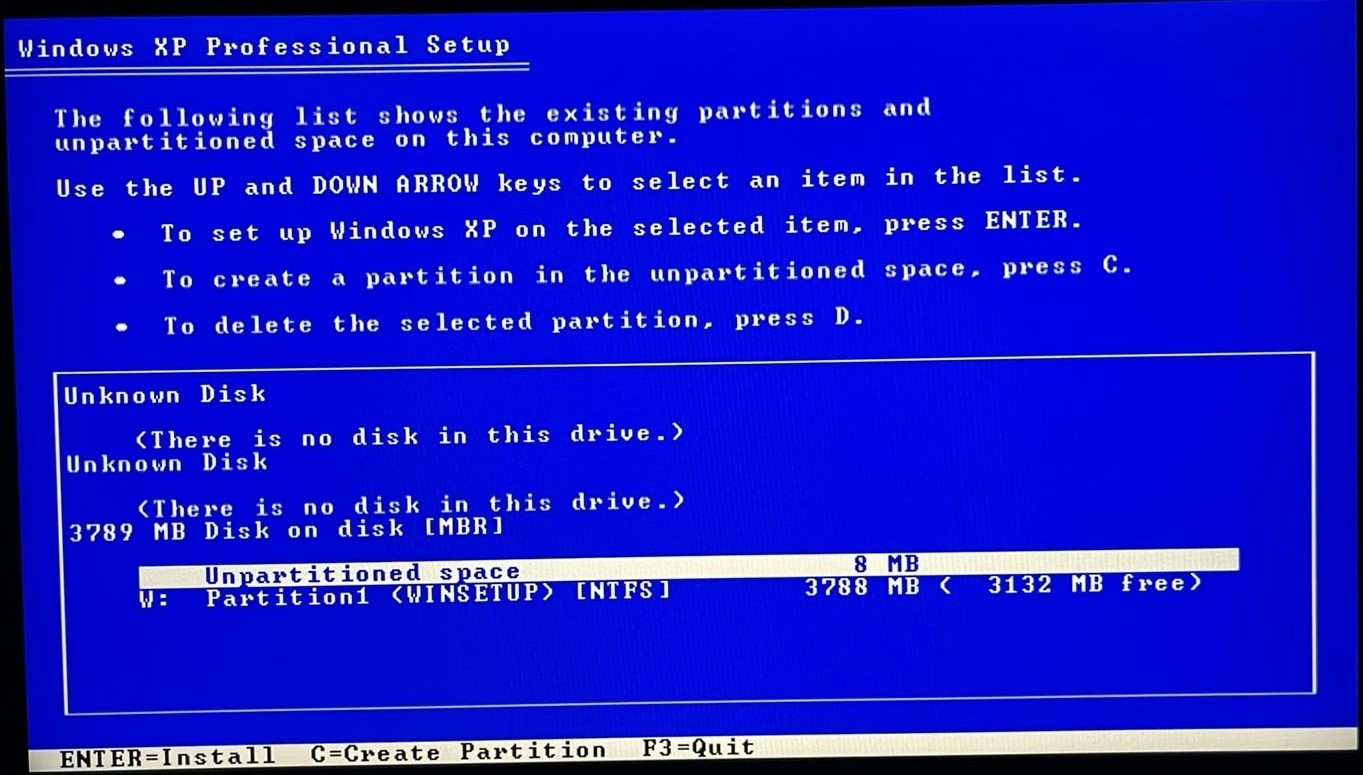
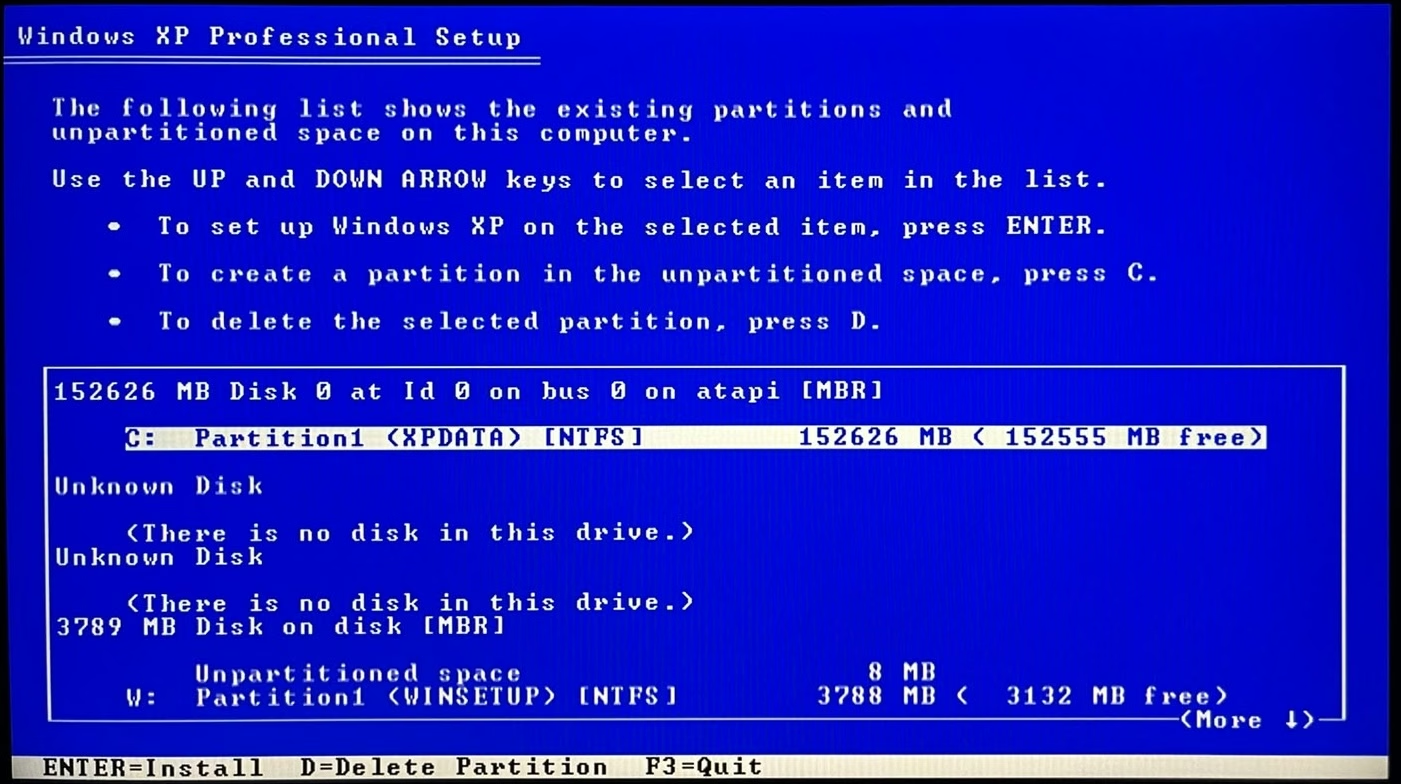
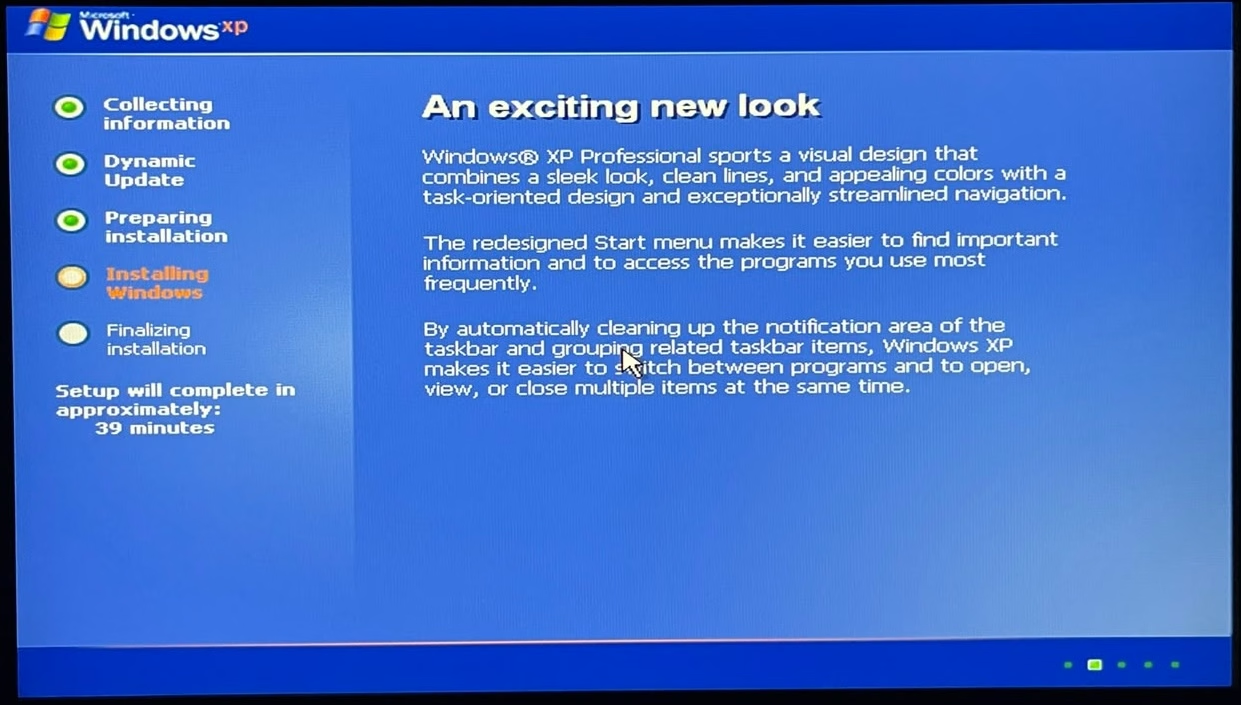
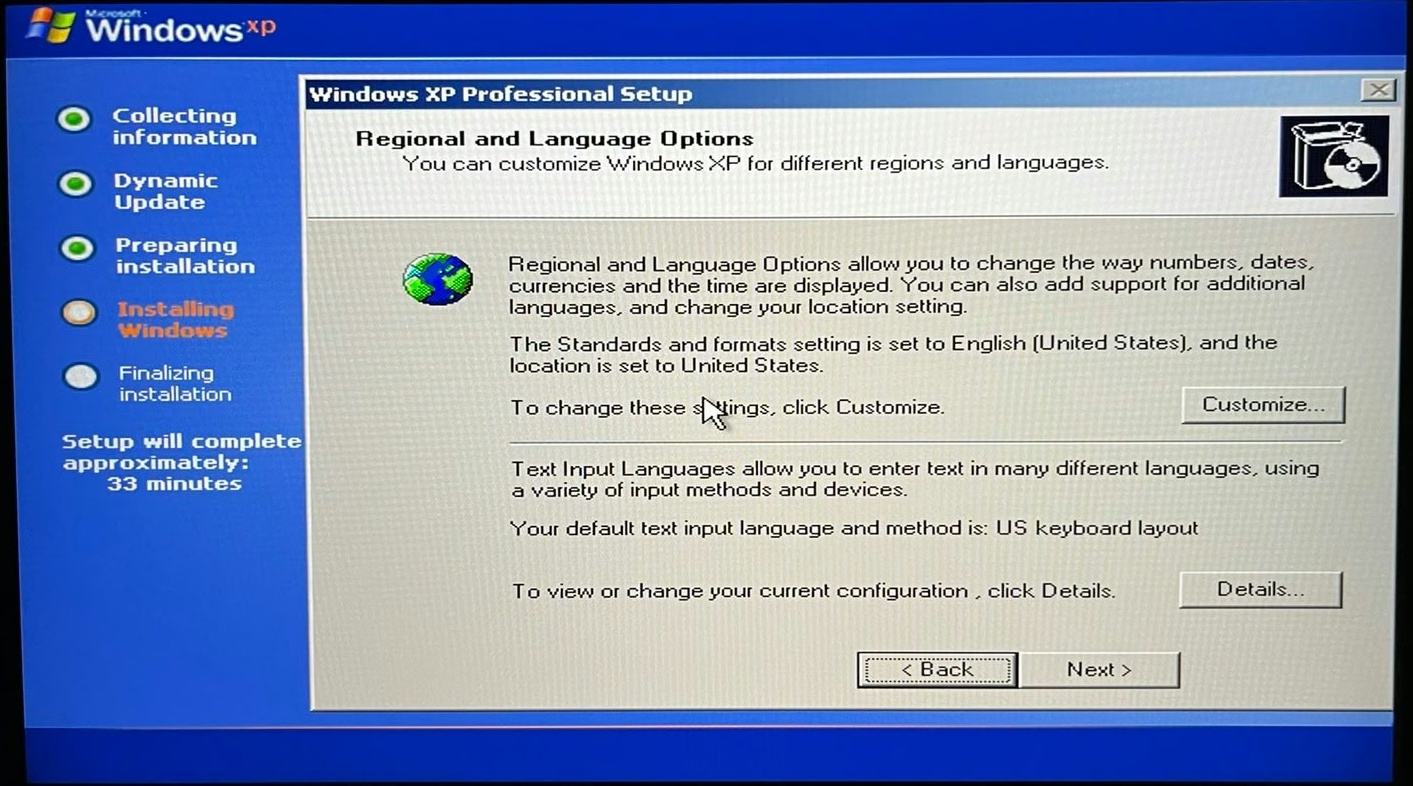
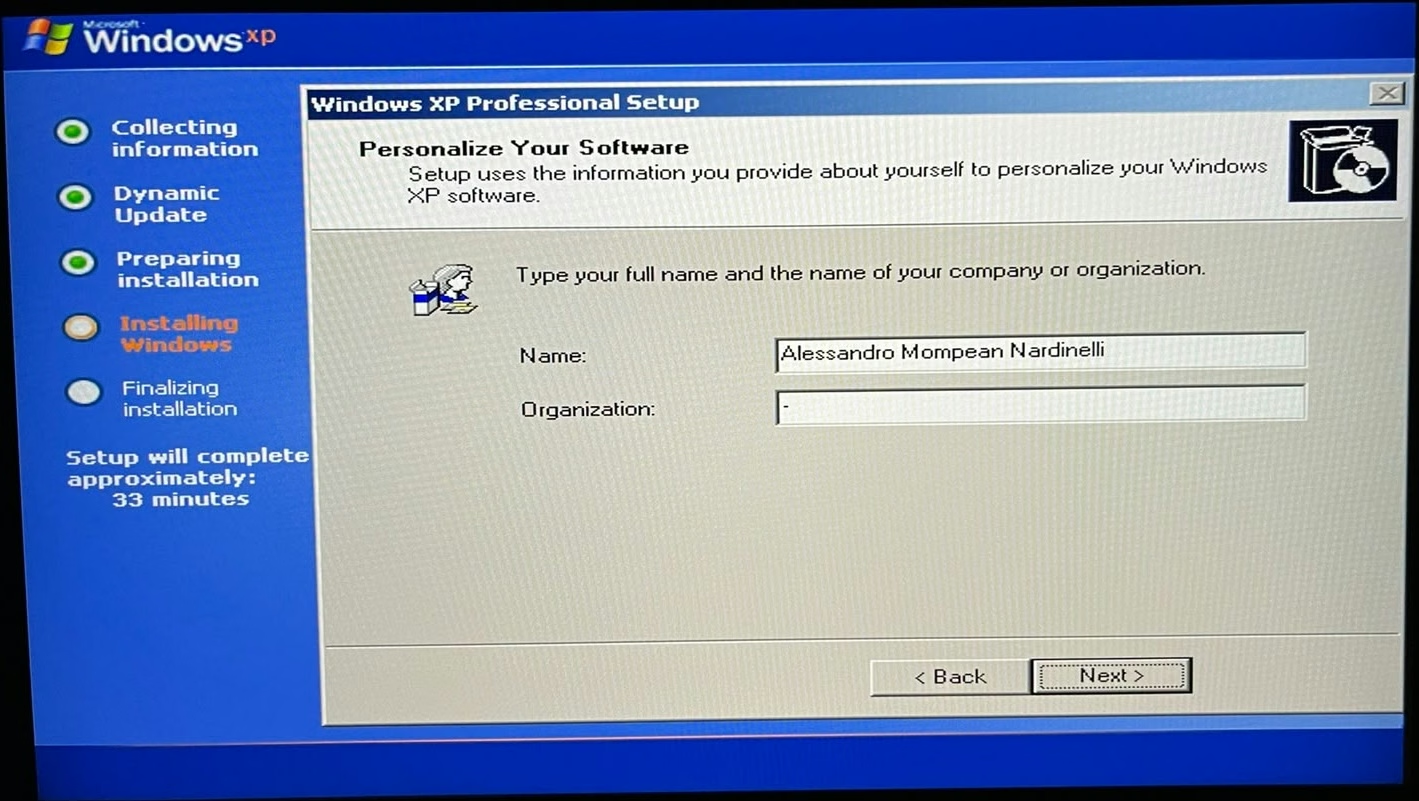
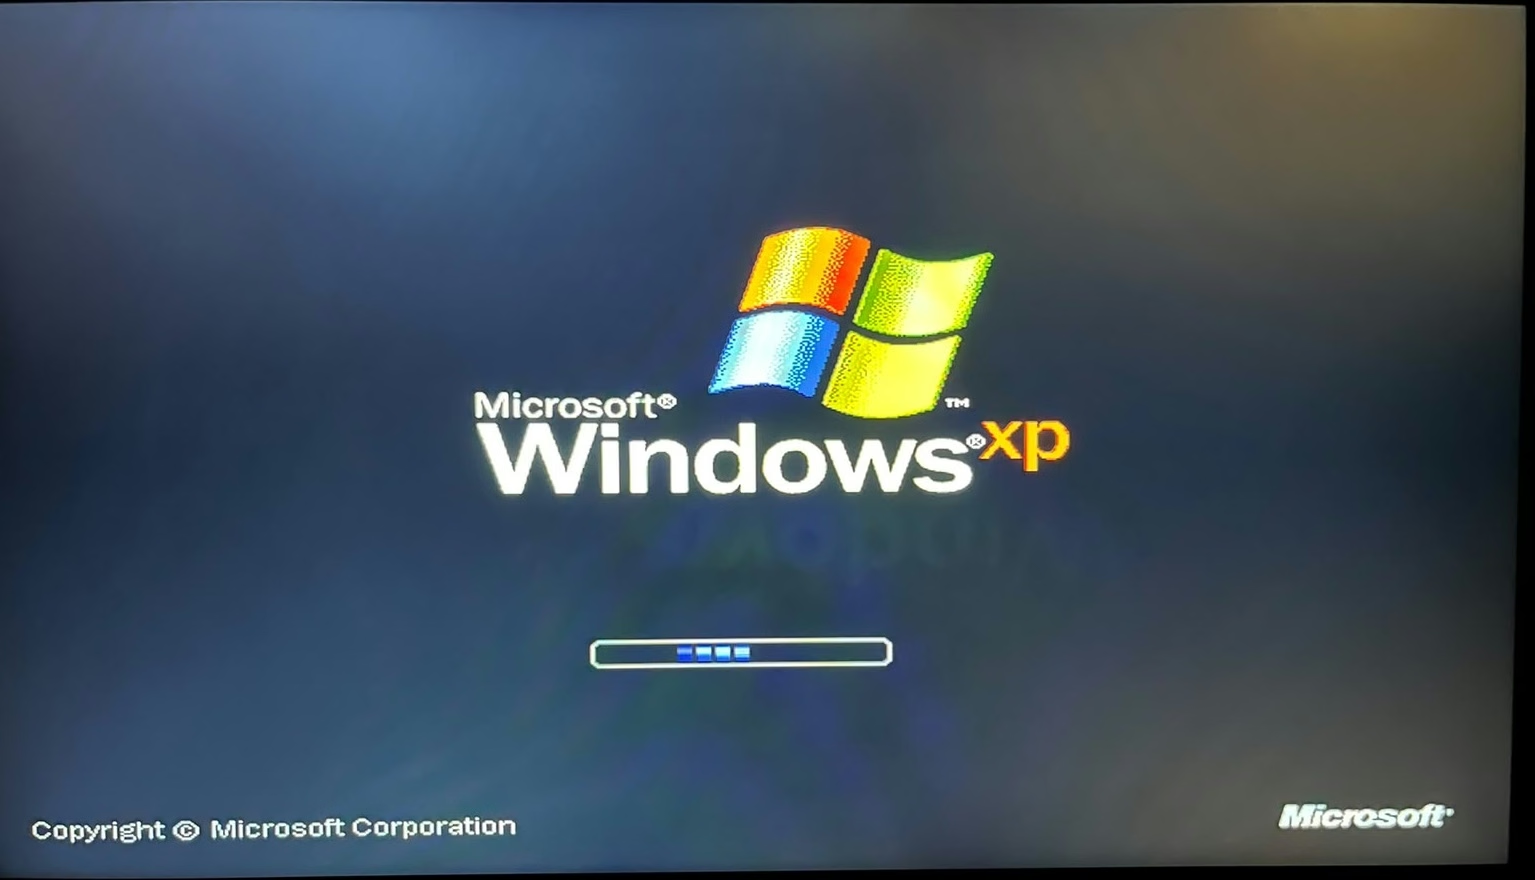
Once that was done, setting up Windows XP was pretty straightforward: I just followed the installer's steps.
References
| ^ | [1] | Nardinelli, Alessandro - Setting up a Windows XP computer in 2026 - Part 1 - The Hardware |
| ^ | [2] | ECS BIOS upgrade guide |